If you like adventure or trail riding, most standard fuel tanks won’t hold enough to get you past the car park. So it might be time to fit an after-market big tank
STORY & PHOTOGRAPHY MAX SULLIVAN

Manufactures design things to work, improve ergonomics and, of course, look good. Unfortunately, in the real world, this doesn’t always equate to “practical”. While a small fuel tank makes the bike look good, feel small and light, it’s next to useless when it comes time to hit Australia’s wide-open spaces.
SEAT OF THE PANTS
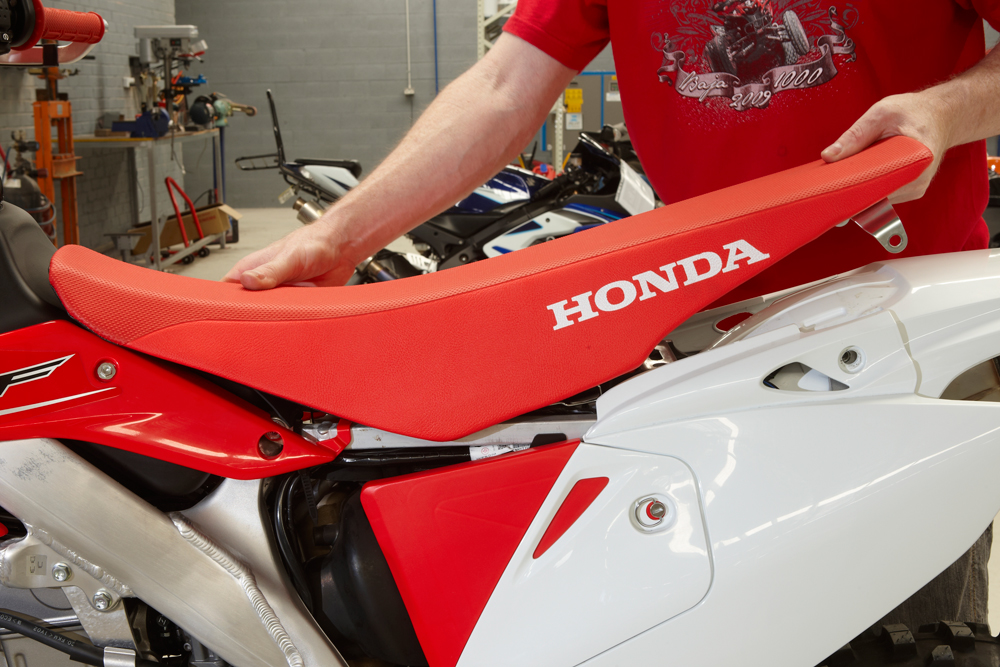
Place the motorcycle on a work stand and start by draining any remaining fuel from the tank into a suitable container. Do this by using a fuel syphon hose or remove the fuel hose from the carburetor. Next up, remove the seat from the bike, followed by the radiator shrouds. Depending on the model and tank fitted, the radiator shrouds may need to be fitted to the new long-range fuel tank.
TAP OUT
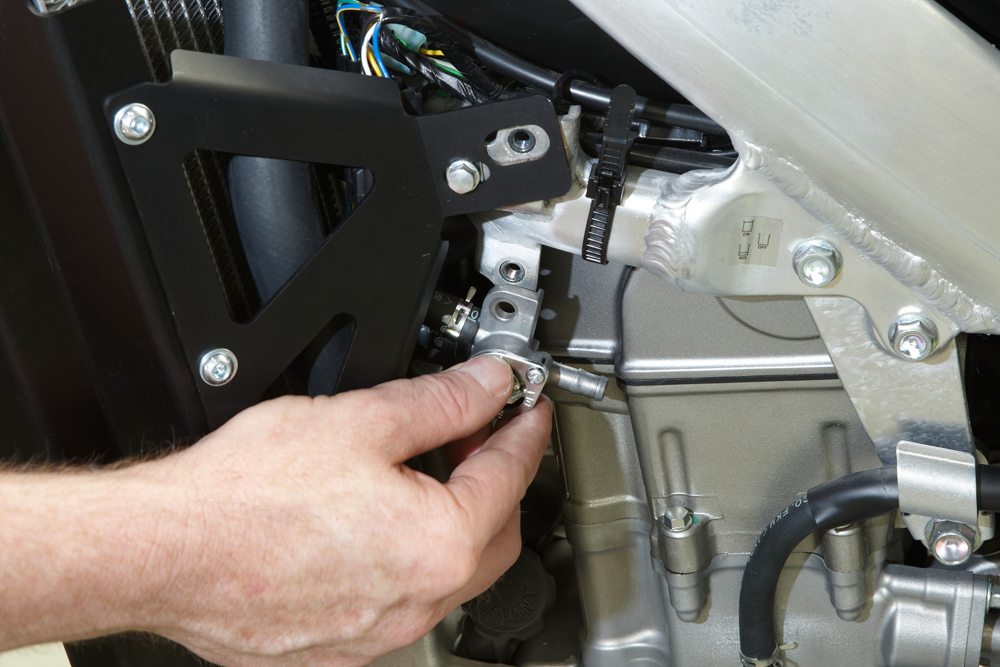
Remove the fuel line from the fuel tap and then the mounting bolt for the fuel tap. Depending on the model, the fuel tap might be separate from the fuel tank and mount to the frame, as on this CRF450X. Others have the fuel tap mounted directly into the fuel tank. Either way, the fuel line needs to be taken off the carburetor to remove the tank. Block off the fuel line or inlet to the carburetor while you’re working so no foreign material finds its way inside.
TINY TANK
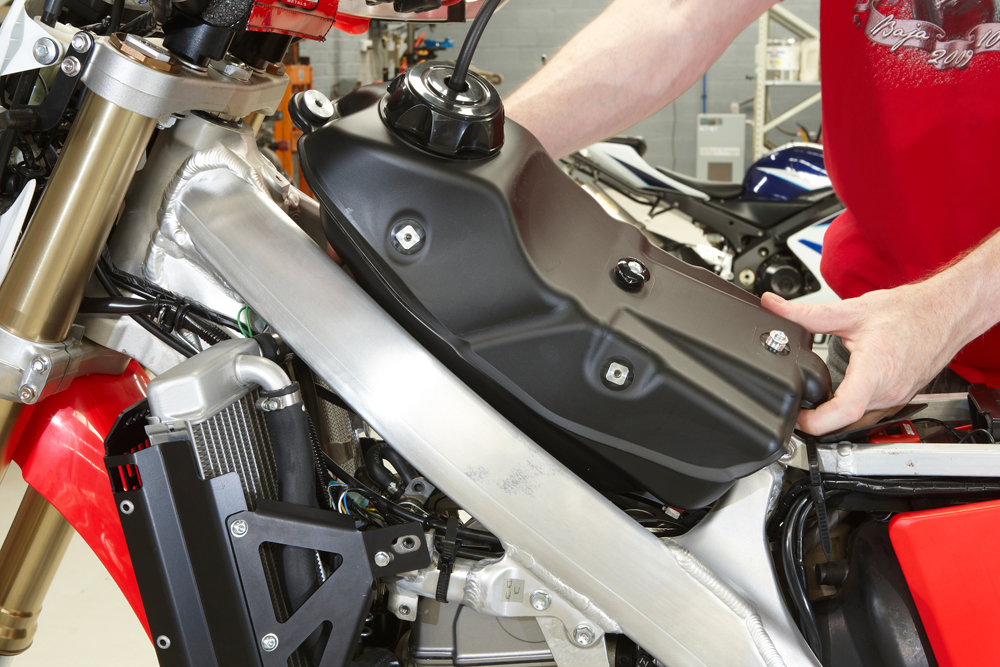
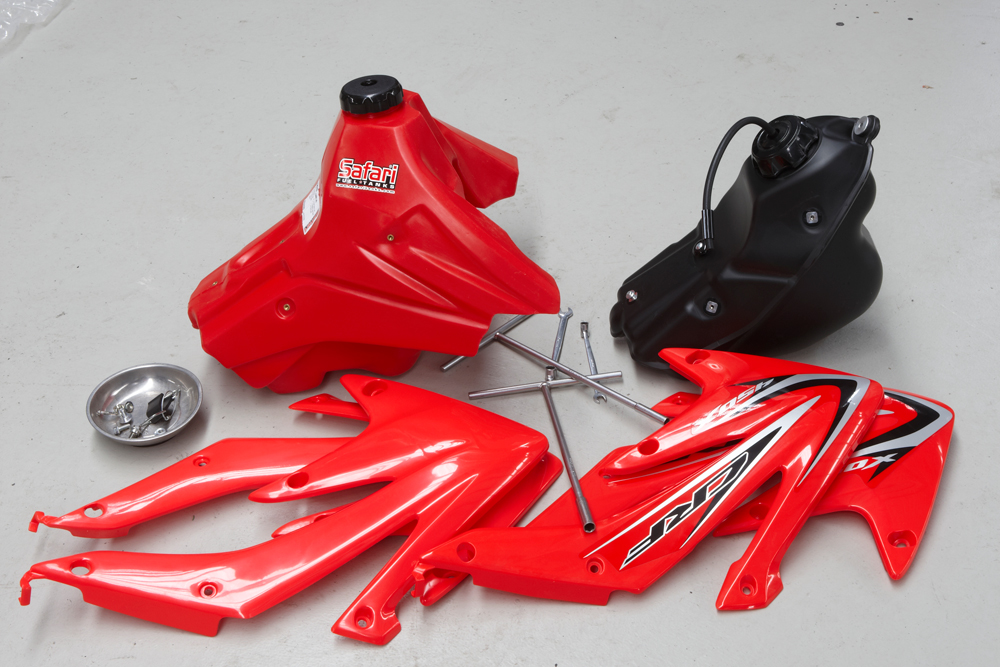
Next up, remove the rear tank mounting strap as well as the front mounting bolt. Lift the tank up, being careful to feed the fuel tap through the gap between the rocker cover and frame. As you can see, the standard fuel tank, at just over 7lts is tiny. The replacement Safari tank is 14L, giving me double the range — just what’s needed for trail riding, the confidence that you’ll make it home.
TWIN PEAKS
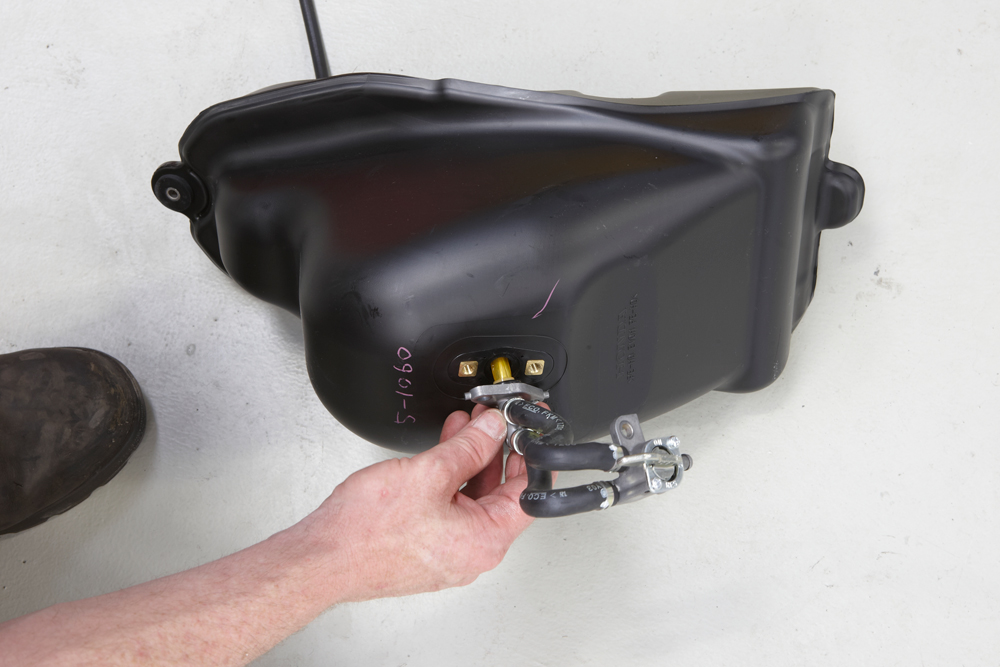
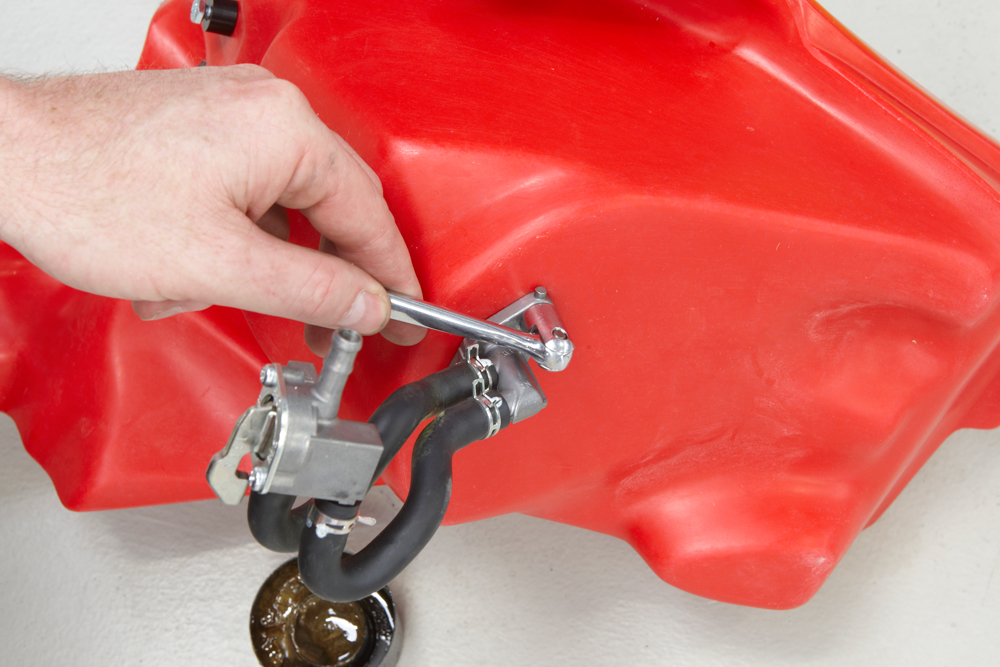
I need to use the existing fuel tap and filter assembly on the new tank. Rather than dismantle it completely, I take the two bolts out of the bottom of the old tank. Be careful not to lose the O-ring or damage the internal fuel filter. Keeping the twin fuel hoses connected will ensure they’re not mixed up so when I turn the fuel tap to reserve there will be some fuel left in the tank.
HOT FLUSH
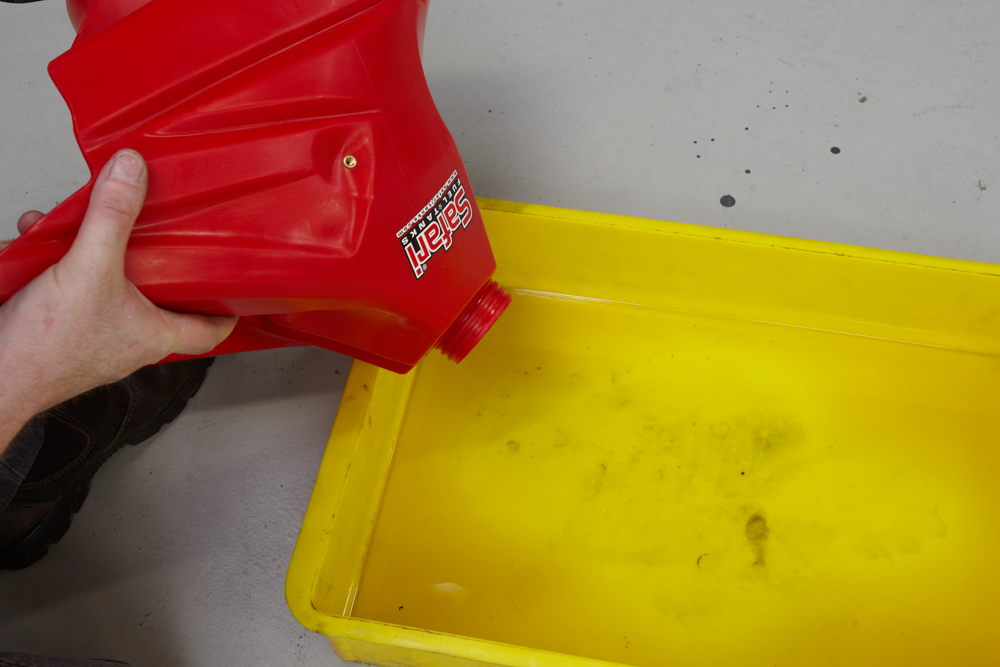
Before fitting anything to the new fuel tank, put a small amount of fuel inside using suitable eye and hand protection. Cover the fuel tap hole and fit the fuel cap. Swish the fuel around and tip the tank upside down into a suitable container. During manufacturing, some plastic swarf or foreign materials might be left inside the tank. Flushing the tank out like this will ensure a clean start to your next ride.
NON-STICK
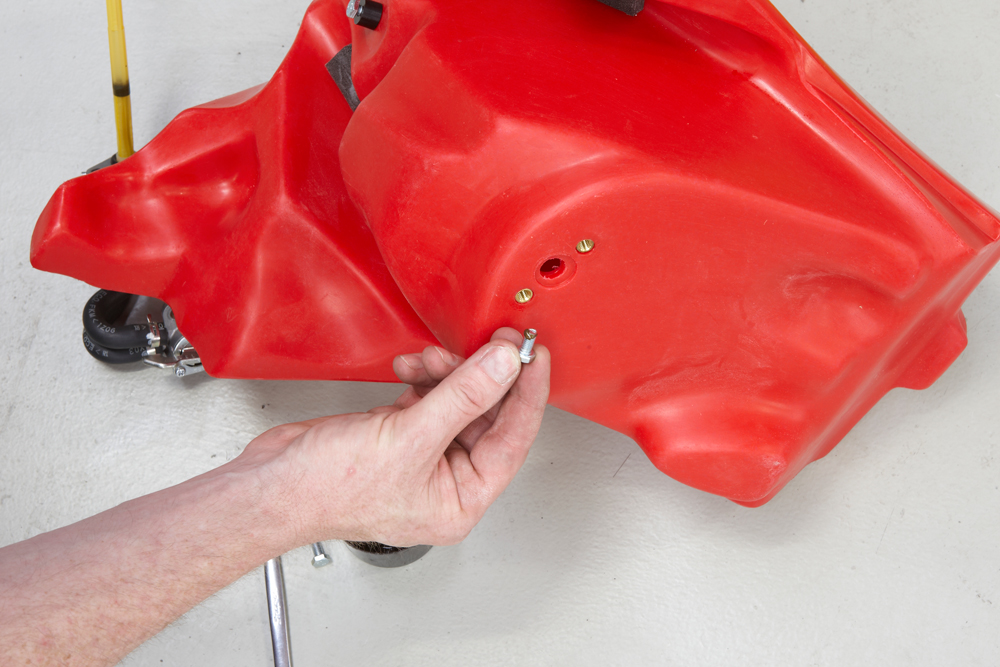
The mounting points for the fuel tap, seat locator, front tank mount and radiator shrouds are all made of brass inserts set into the plastic. It’s a good idea to use some anti-seize compound to ensure the bolts don’t corrode and stick in the brass inserts. Never make the mistake of using Loctite as this will just ruin your day when it comes time to remove the bolts.
TIGHTEN UP
Make sure there’s no more swarf (plastic shavings) around the fuel outlet hole prior to fitting the fuel tap. There is usually some sort of fine plastic mesh fuel filter, so check to see if it’s blocked or damaged. Preferably, use a new sealing O-ring (genuine so you know it will withstand fuel) and tighten the mounting bolts. Just nip them up — not too tight, as it’s the O-ring that does the sealing.
MOUNT UP
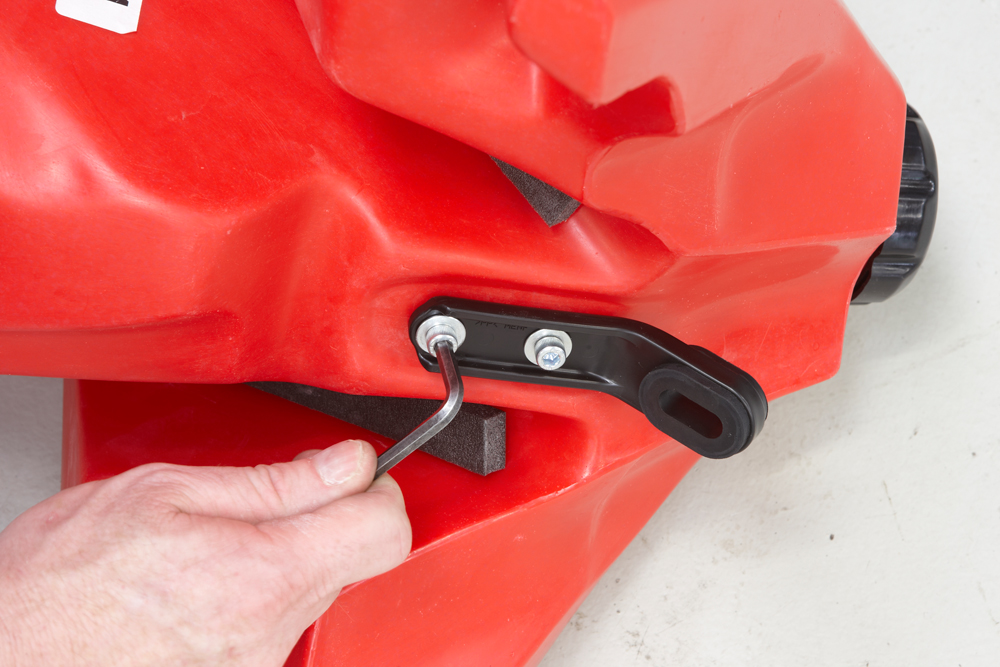
Depending on the use of the bike, you might choose to have the standard tank ready to fit if you’re heading out on a short ride. In this case you should invest in the mounting hardware and new fuel tap assembly so the standard tank can be quickly fitted to the bike in a matter of minutes. Otherwise, remove the seat locator, rear mount and front mount from the standard tank and fit to the new Safari tank.
ALMOST READY
Feed the fuel tap and hoses through the gap between the rocker cover and frame as you lower the new tank into position. Bolt down the front mount using the standard bolt and collar. The rear of the tank is held down with the mounting strap. Refit the fuel tap to the frame and attach the fuel line. Add some fuel to the tank and inspect for leaks, particularly around the fuel tap/filter mount.
SHROUDED IN MYSTERY
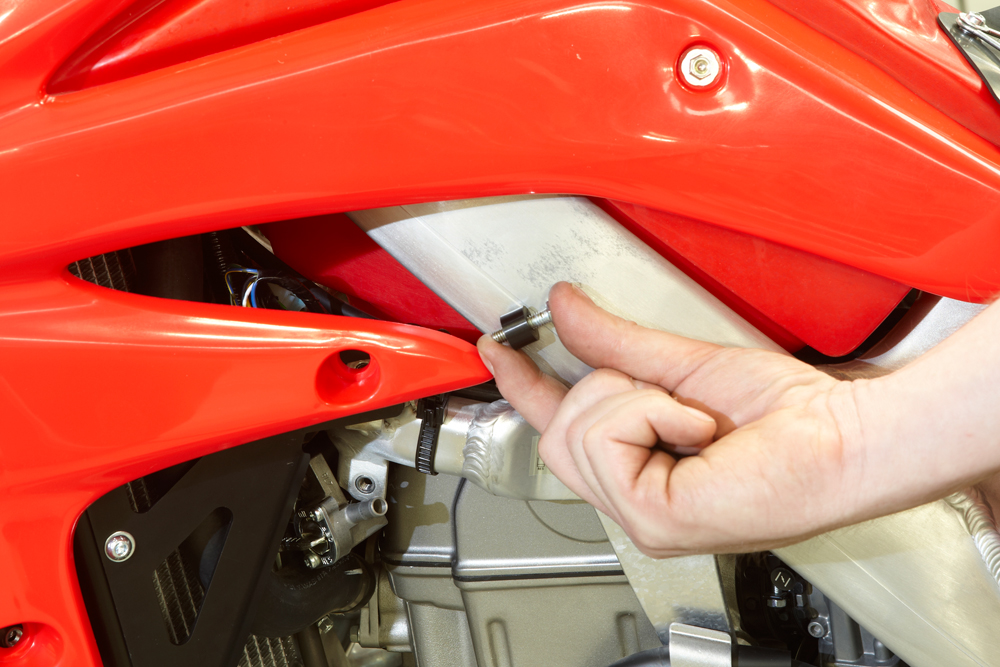
Once you’re happy with the mounting of the tank, it’s time to fit the radiator shrouds. This particular tank requires 2008-model shrouds, which are slightly different from the standard ones. I took the opportunity to fit some new UFO plastic shrouds, keeping the genuine ones in pristine condition ready for resale in a few years’ time. The shrouds require a small spacer but this comes in the kit with the tank. Now it’s time to hit the trails — the long trails.

