Replacing or fixing a flat tyre on your dirt bike can be done with just a few tools from your bumbag. Here’s some tips on how to change a dirt bike tyre
STORY & PHOTOGRAPHY MAX SULLIVAN
There’s more than one way to skin a cat. Same goes for changing tyres. So this might not be the best or fastest way but it works for me and has done for years. This technique should get you out of trouble in the garage or on the trail.
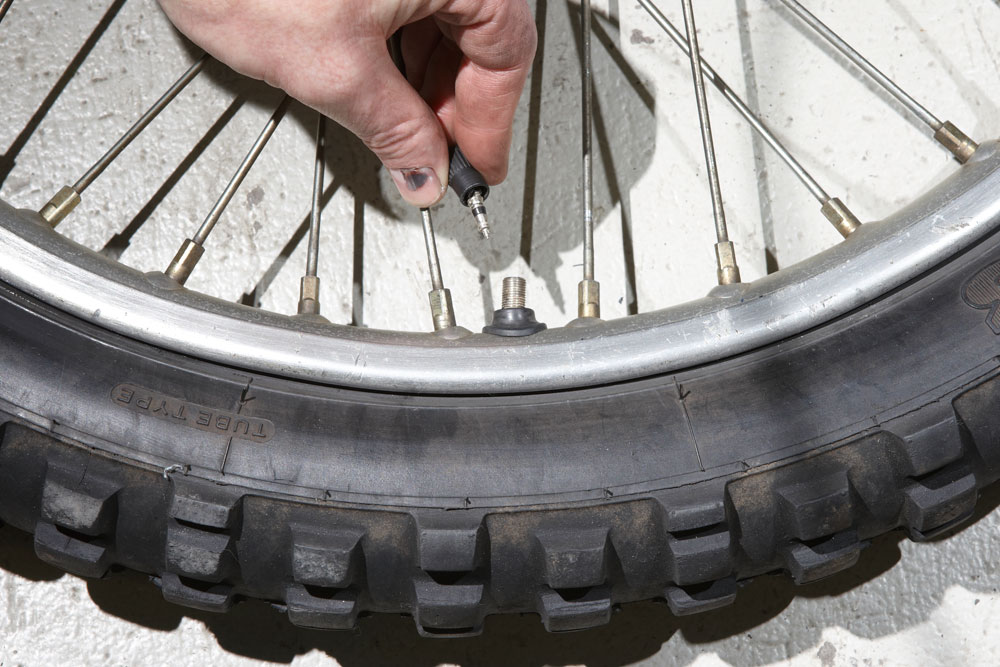
VALVE CORE
In this sequence the tyre and tube are simply coming off and back on the rim. The same technique is used to fit a new tyre or remove a tube for repair or replacing. Regardless of your situation, remove the valve core (even if the tyre is flat) to ensure all the air comes out and makes tyre removal as easy as possible. Some valve caps have core removers built in — a great idea when you need to change a flat in the bush. One less tool to carry!
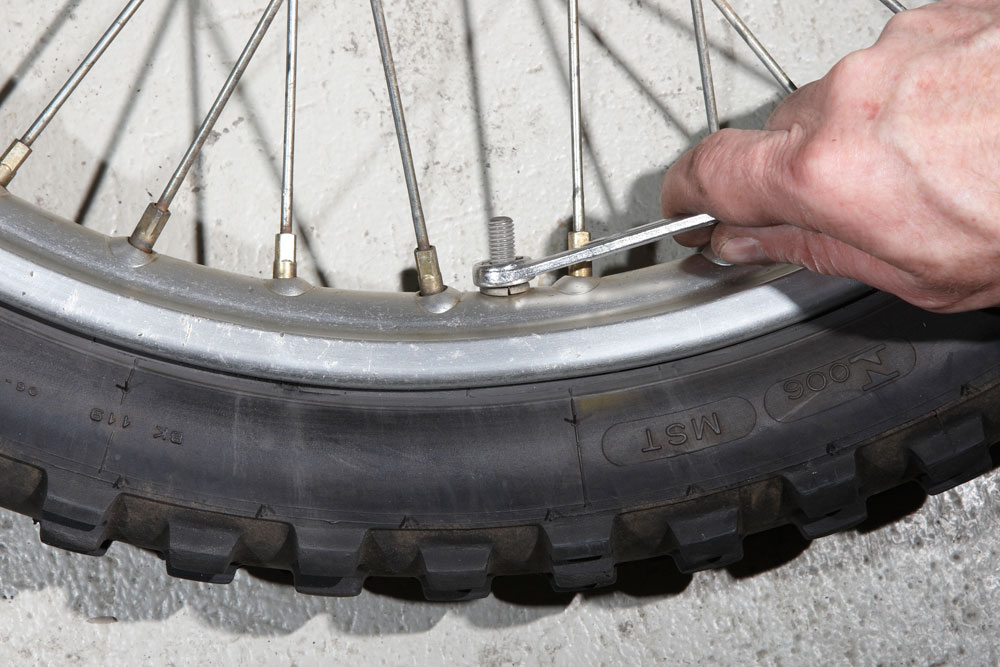
RIM LOCK
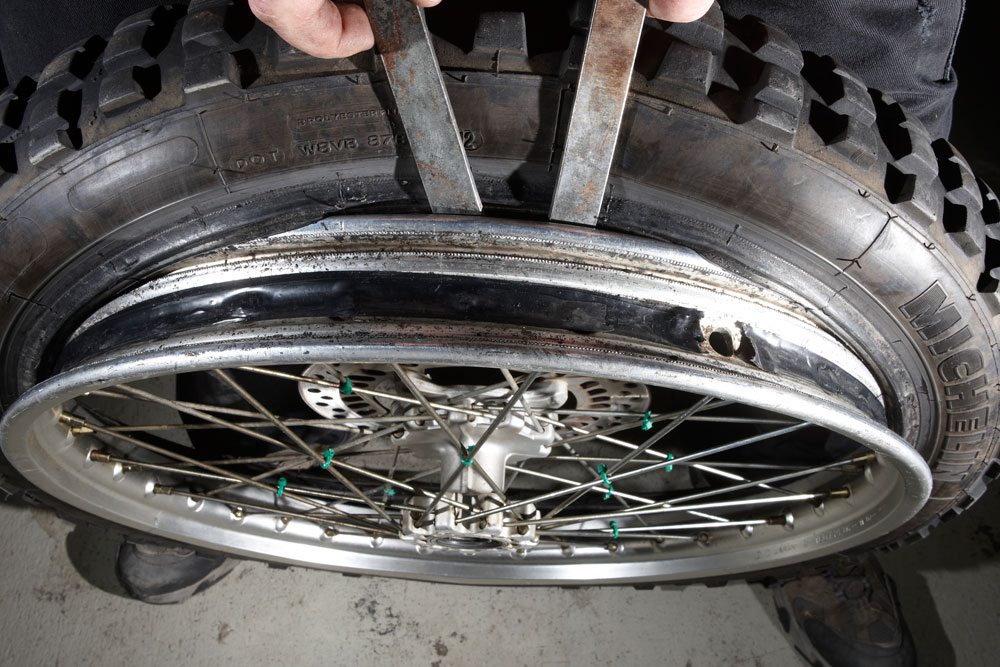
Most off-road rims use a rim lock, which holds the tyre’s bead against the rim to help prevent tyre slip. If the tyre slips around on the rim, the valve will be pulled out of the inner tube, resulting in an instant flat tyre. Single rim locks are no real problem. Some rear wheels use two, or double, rim locks which will definitely test your patience and tyre-changing skills. Loosen the nut and unscrew it all the way to the end before pushing the rim lock back in toward the tyre to loosen its grip.
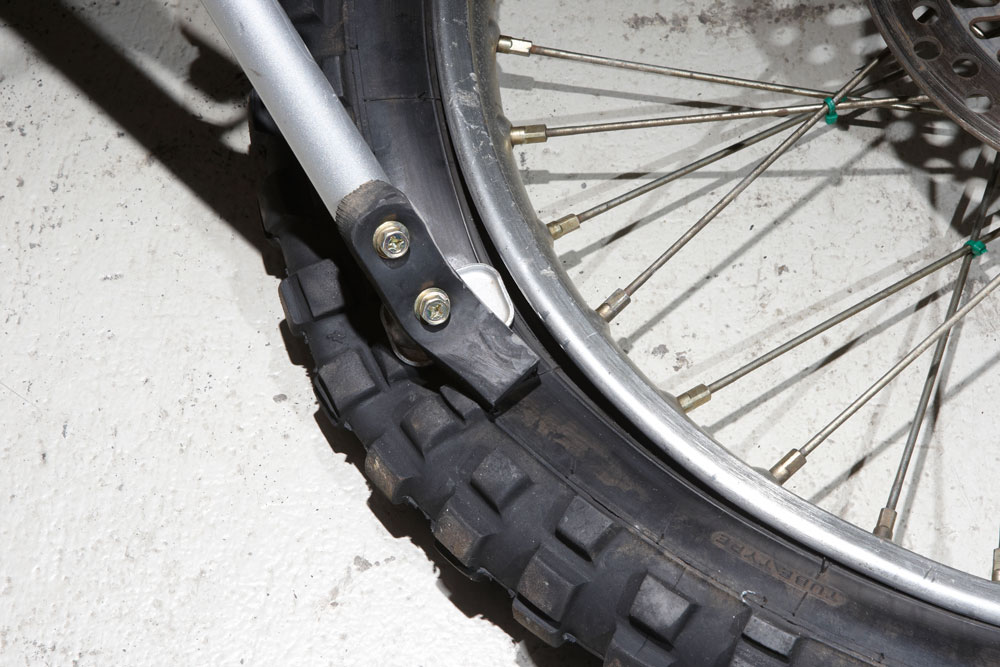
BEAD BREAKER
If you’re changing a flat tyre, the bead is often pushed off its seat (by riding the bike with a flat tyre) and the tyre is ready to start levering off. If you’re simply changing a tyre, you’ll need to “break” the bead by pushing it in toward the centre of the rim. If it’s a bit stubborn, use your mate’s side stand to put pressure on the tyre till the bead releases and can be pushed into the well of the rim.
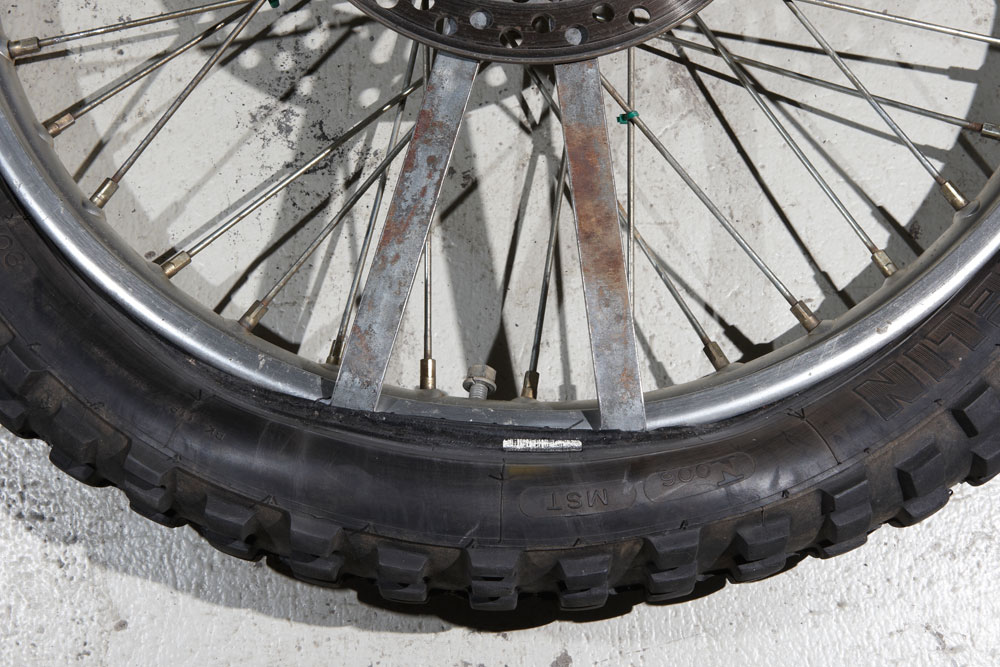
DOUBLE UP
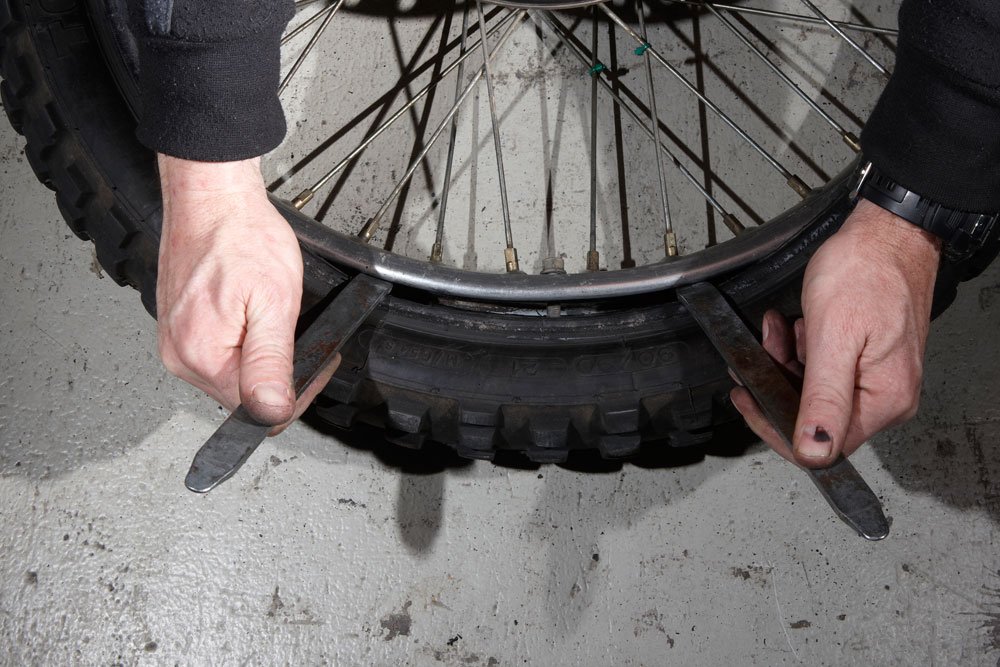
To remove the tyre, I like to start at the rim lock. I place a tyre lever either side of the rim lock, making sure not to pinch the tube between the lever and the rim or tyre. Push down on the tyre, on the opposite side of the wheel, to make sure the bead slips into the well of the rim. This will give you enough slack to lever the bead over the rim. By starting with the brake disc up, I can carefully hook one or both levers under the disc to act as a third hand.
SMALL BITES
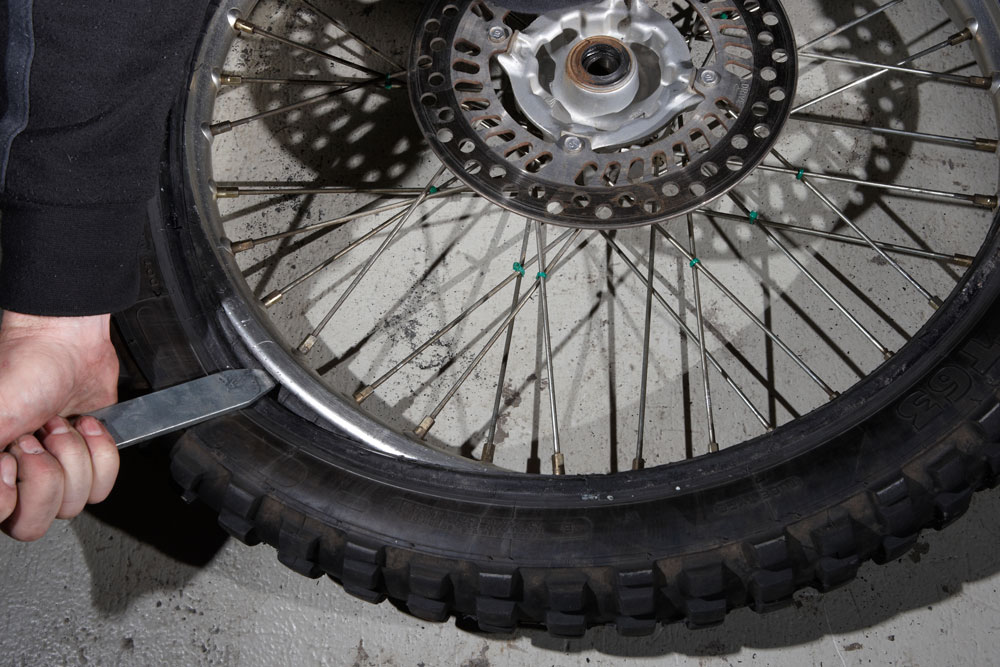
The biggest mistake I see people make is trying to remove too much at one time. Just take a small bite of the tyre with each use of the tyre lever and you’ll find it takes much less effort. If you try for too much, the excess pressure can stress, bend and break the wires in the bead of the tyre. This will render the tyre useless and it will more than likely explode when you pump it up. I like to use three tyre levers, one to hold the starting position and two to work slowly around the tyre in small increments till it’s off the rim.
BIG HOLE
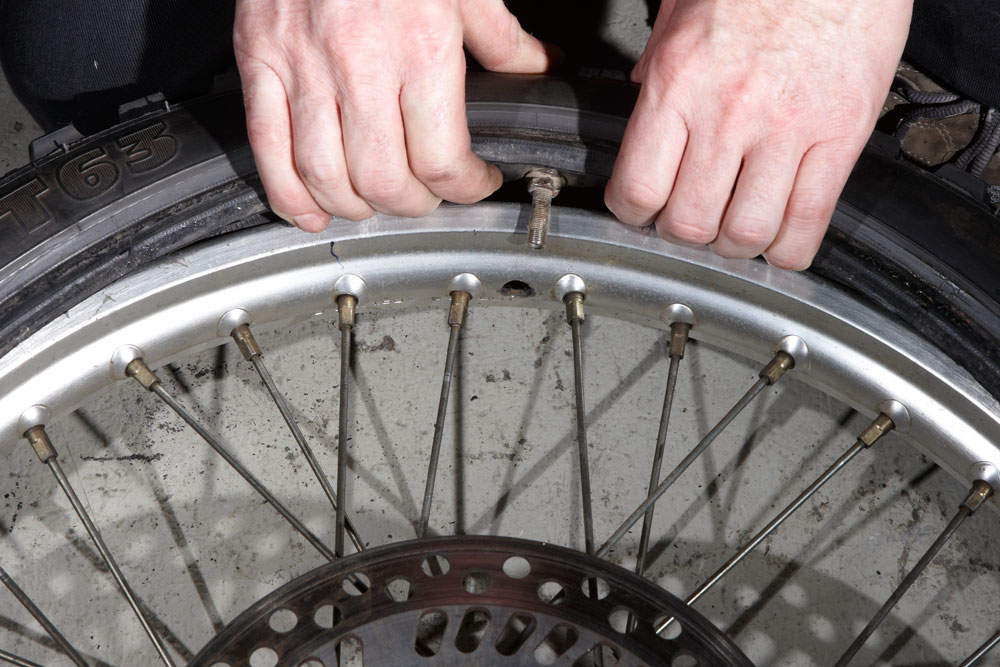
Once the first half of the tyre is removed, reach in and pull the valve of the tube clear of the rim so it won’t be stressed when you pull out the tube. Remove the rest of the tube before attempting to remove the other side of the tyre. Note how big the valve hole is on this Honda. It’s designed to be oversized so if the tyre slips on the rim the valve will tilt, indicating the tyre needs straightening — hopefully before the valve rips out of the tube!
PUSH IT REAL GOOD
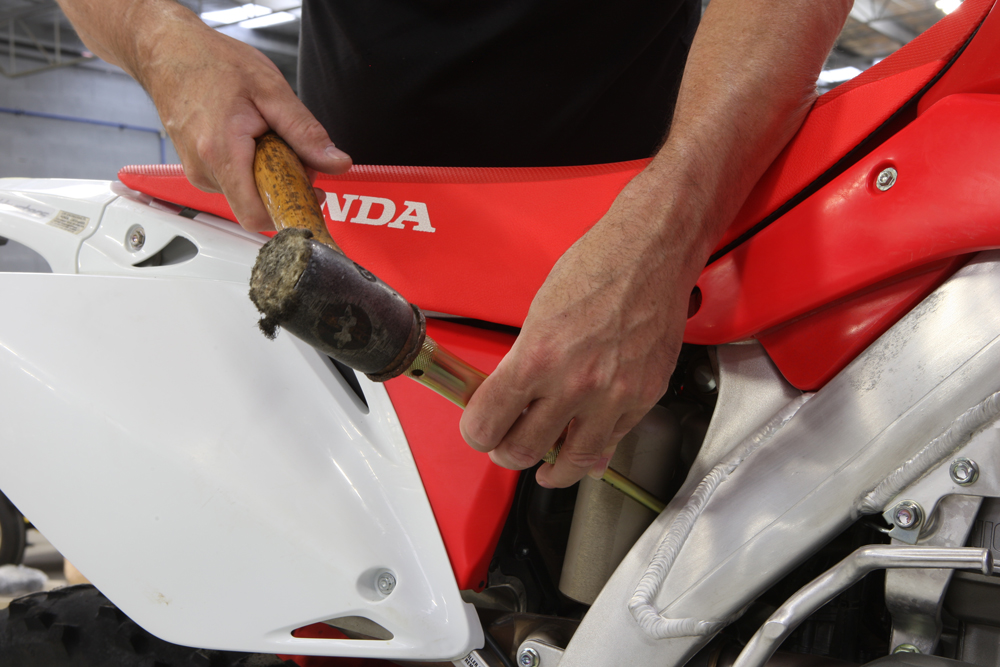
To remove the tyre completely from the rim is fairly easy. Stand the wheel up with the rim lock sitting at the bottom of the wheel. Make sure the lower part of the tyre has the bead sitting in the well then insert two tyre levers and pull toward you. Push down with some force and the tyre should pop right off. It might need a bit of persuading with a rubber mallet if you’re a lightweight.
REVERSE PSYCHOLOGY
Refitting the tyre (or fitting a new tyre) to the rim is basically the reverse procedure. I firstly feed the rim lock into the tyre then lay the rim on the ground so I can lever the tyre on. You’ll end up levering on both beads of the tyre, but make sure the top section of the tyre is up and over the rim. Keep working your levers around till the tyre pops over the rim. If you have a double rim lock, fit the second rim lock to the rim only once the first bead is over the rim.
BLIND HOLE
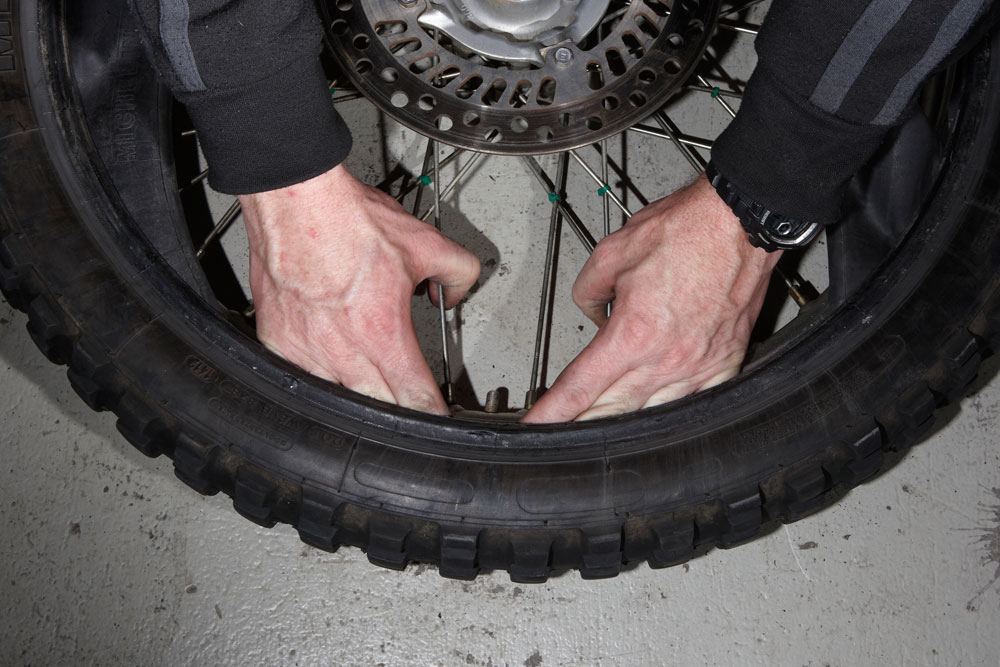
Push the valve section of the tube into the tyre. Reach in with both hands and feel for the valve. You’ll need to feed this through the valve hole and secure with the nut. If you forget to wind the nut on, the valve can fall back inside the tyre, which makes inflating the tyre a real challenge. Once the tube’s inside, you can add just a tiny bit of air to allow the tube to hold some shape and avoid being pinched between tyre and rim. Not too much air, or the next part of the tyre will be difficult to fit.
THREE’S A CROWD
Again, I like to start at the rim lock. Make sure you push the stem of the rim lock in so the tyre can slip between the rim and the rim lock. Hold (or get a mate to hold) one tyre lever in this position as you work the rest of the tyre on with either one or two tyre levers. Take little bites of the tyre and, if using two levers, keep them close together and work around till the tyre is all the way on. Now just inflate the tube, make sure the bead has seated and hit the trails.

