STORY & PHOTOGRAPHY SHANE BOOTH
Air filter servicing is an important part of dirt bike maintenance. Here’s a step-by-step guide on how to change your dirt bike air filter.
STEP 1: REMOVE DIRTY FILTER & CLEAN AIRBOX
Remove your dirty air filter carefully and replace it with an airbox cover like the one here. This allows you to wash the airbox out properly when you’re washing your bike. Although they do seal well, don’t aim a pressure cleaner or even the jet spray from a hose directly in there as you may force water through into the engine.
STEP 2: ON WITH THE GLOVES
Some latex gloves don’t go astray at this point to keep the hands clean. Hardcore dudes will just get amongst it but 90 per cent of riders go with the gloves.
STEP 3: REMOVE OLD OIL FROM FILTER
For this step you want to invest in some specific foam air filter cleaner. This stuff is designed to remove the old oil from the filter without damaging the foam. If you use petrol or other types of solvents, it can potentially eat away the foam and the glue that holds the filter together. You need to wash the filter in this stuff to get the old oil out. A good method is to pour the air filter cleaner into a container that has a lid — that way you can clean the filter and then save the cleaner for next time. You should be able to get a few washes out of one batch of filter cleaner before it gets too dirty and needs to be changed.
STEP 4: RINSE THE FILTER
This is just about rinsing the filter out well and getting any of the remaining dirt out of the foam. By this point there shouldn’t be any oil left in the filter so a little soapy water and a really good rinse under a tap or hose should do the trick. Probably not in the kitchen sink, kids.
STEP 5: LET IT DRY
Once it’s all clean, just set it somewhere to dry properly. You can help speed this up by squeezing the filter out in a paper towel or clean rag.
STEP 6: BLOW IT OUT
This is just a little extra step I’ve always done but it may not be possible for everyone as you’ll need an air compressor. Once the filter is dry I always just blow it out from the inside out with compressed air to make sure there’s no dirt left in it at all. Just a little extra insurance.
STEP 7: OIL IT UP
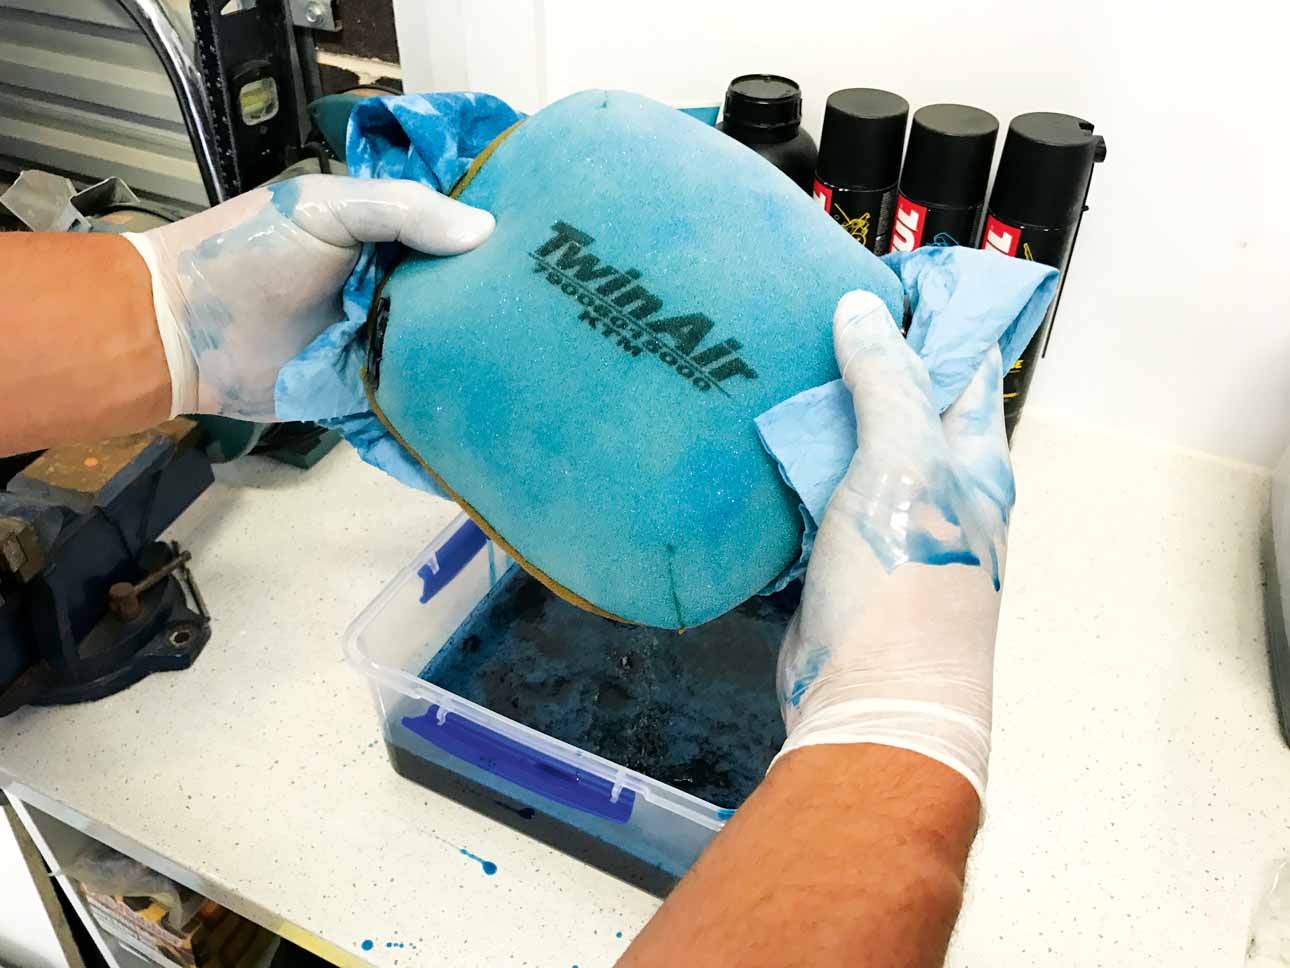
This is the most important step of this process. The first thing to mention is make sure you use a specific-purpose foam air filter oil to service your filter — that’s really important. I think the best way is to empty a bottle or two of air filter oil into a container that can be sealed like the one in the photo. Now you can completely submerge the filter in the oil and avoid the chance of missing a spot on the filter. You only have to miss a small spot on the filter and dirt will get sucked through, damaging your engine.
STEP 8: SQUEEZE IT OUT
Once you’ve completely oiled the filter, you actually want to squeeze as much oil out of it as possible. An over-oiled filter will hurt the performance of the bike and also leave you with a puddle of oil under your bike in the shed or trailer. Get as much as you can out of it and into your container so you aren’t wasting oil. Then, to finish, I always get some paper towel and squeeze the filter out in that to remove the last little bit. Don’t be afraid of squeezing out too much oil; you won’t be able to.
STEP 9: IN THE BIKE OR BAG IT UP
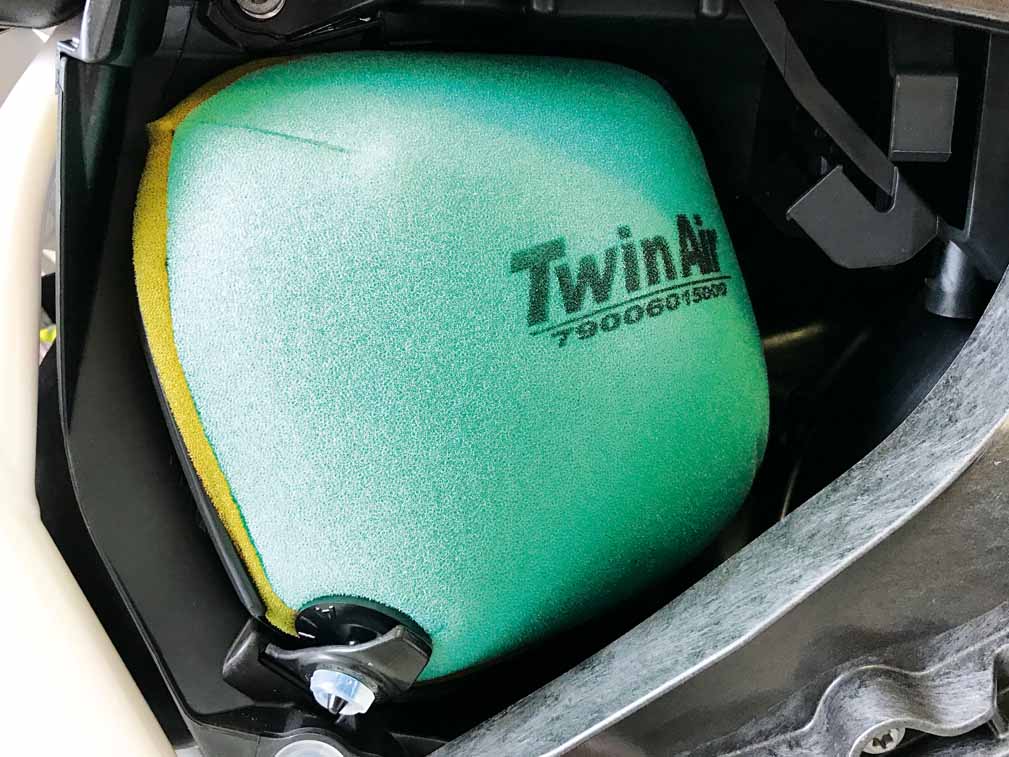
If it’s going straight back in the bike, try to give it 10–15 minutes on the bench to air out if you can. If you’ve cleaned a bunch of filters, place each one in an individual snap-lock sandwich bag so it’s kept sealed airtight. That way, each filter is oiled and ready to go for next time. This also makes it easier to change a filter quickly on race day.


