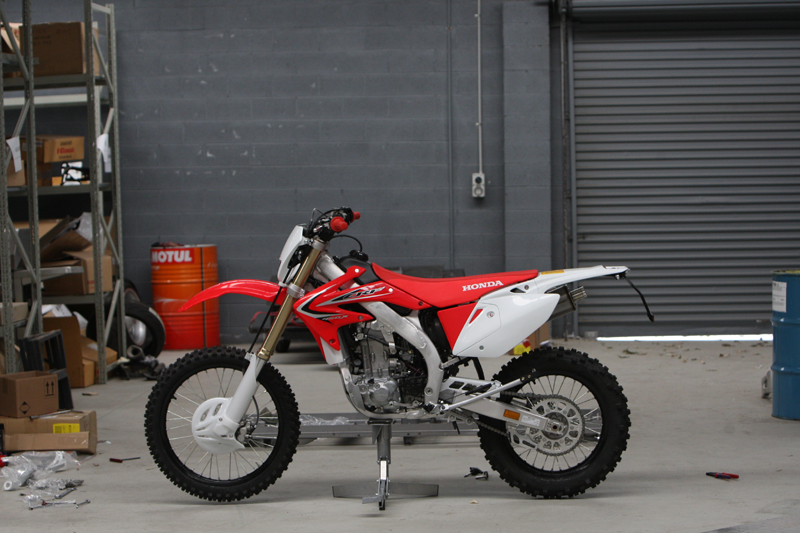
Just because the bike on the showroom floor is in one piece that doesn’t mean it arrives like that
STORY & PHOTOGRAPHY MAX SULLIVAN
So you part with your hard-earned cash to buy a new bike. You fill out the paperwork and then the salesman hits you with assembly and pre-delivery charges. Well, bikes don’t arrive in one piece ready to roll onto the back of your ute. Each model is different, but here’s a look behind the scenes to see what goes on after the crate arrives at the bike shop.
SORT YOUR SH*T OUT!
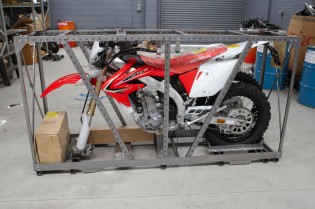
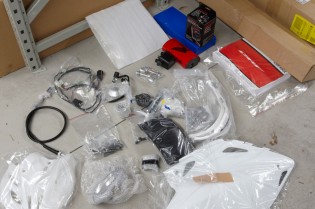
Once the bike is delivered to the dealer in a crate, it then has to be taken out and assembled. Each model is different and assembly time might be anywhere from a few minutes to several hours for a big road bike. Most dirtbikes arrive with no front wheel in them and the front axle is bolted to the crate. Some companies use wooden crates covered in thick cardboard to ship the bikes. First job is to sort out what needs to go on the bike and what might be an addition or option. This CRF arrived with the original wiring harness/headlight in the box, which was replaced by ADR-spec components.
PHAT BARS
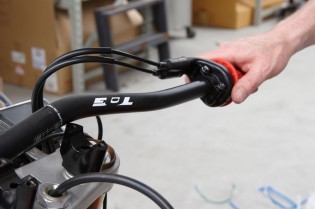
Sometimes the handlebars are half connected, with the left-hand switch block already attached and the bars wired to the crate. The best trick here is to slide the throttle tube onto the handlebar prior to mounting the bars on the triple clamp. The throttle cables are usually too short to slide over the end of the bars once they’re in place. The rest of the components can be fitted after the bar mounts are tightened. Prior to tightening, make sure the clamps are around the right way and seated correctly.
THE ONLY WAY IS UP
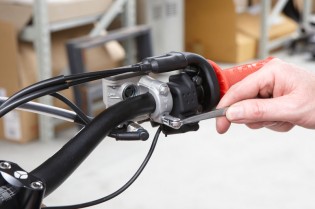
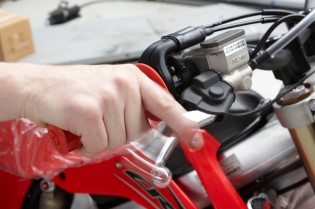
Mount the rest of the switch blocks and the front master cylinder to the handlebars. Take note of any clamps, as I often see the word “UP” the wrong way around! For registration purposes, this bike also comes with a mirror mount that mates to the front master cylinder clamp. This is why you should be familiar with all components prior to fitting. This unit will have an after-market mirror fitted, so the mount was not used. Cable ties are used to tidy up the wiring along the length of the bars and are supplied in the assembly kit.
PUT IT ON MY TAB
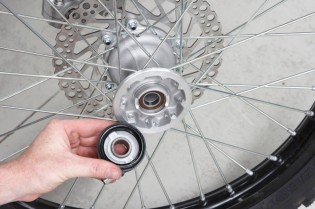
If you are fitting a speedo drive to the front wheel, care must be taken to line up the two drive tabs. They are made of plastic and, if not lined up correctly, will break off when the front axle is tightened. The speedo might work for a short time but will quickly fail. This is another non-ADR component for the CRF. The ADR-spec speedo runs off an inductive pickup at the rear wheel. This speedo drive is supplied to operate the optional trip meter fitted as standard if the bike is not being registered.
NOW IS THE TIME
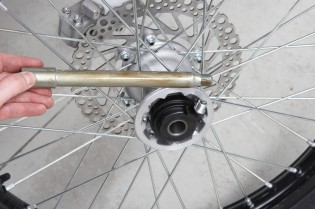
Now you can tell if your assembly guy really cares. Since this is the first time the axle is being fitted, it’s a good policy to lube the axle with either grease or anti-seize compound to reduce the chance of the axle corroding on those upcoming wet rides or creek crossings. If you’re not sure, slip it out, along with the rear axle, when you get your new bike home and do it yourself. A little anti-seize on the axle thread is a good idea, too.
PINCH ME
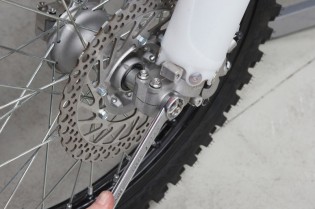
Now the front wheel is mounted between the forks with the spacers. Note that the pinch bolts are left loose at this stage. The axle nut is tightened, then the bike is dropped off the quick lift and bounced on the front suspension. This settles the front axle and forks in their relaxed position. Finally, the pinch bolts are tightened. This allows the forks to operate smoothly throughout the entire length of travel. One final check of the axle nut, fit the plastic disc cover and you’re ready to roll.
PUMPED UP KICKS
Ready to roll, yes! Ready to stop, no! Now the front brakes need to be pumped to seat the front disc pads against the front disc. The bike should be put back up on the quick lift for this so the front wheel can be spun by hand to check for any binding or noises. The brakes should pump up and feel firm. The CRF X model comes with ADR-compliant pressure switches which do take away slightly from the rock-solid lever feel. If you’re not registering the bike, the standard banjo bolts are supplied so you can increase that brake feel.
UNDER COVER
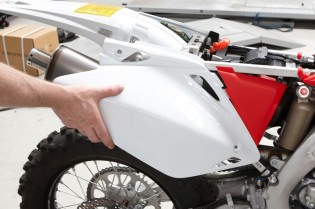
In order to make the bike as compact as possible to fit in the crate, some of the plastics may not be bolted on. This right-hand side cover would run the risk of rubbing on the crate, so now it’s time to take it out of the box and fit it to the bike. Sometimes the front guard is also fitted at assembly. These parts in particular should be checked for bolt tightness as they were not put on in the factory. Note the battery is not fitted yet. It usually stays in the box (unless already mounted) until the bike is sold and ready for “wetting up” or pre-delivery.
RAINCOAT
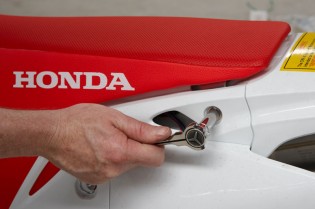
Since the right-hand side cover needed to be fitted, the seat must be removed. If you notice the shot in the crate, the seats usually have a plastic raincoat over them for protection. They keep moisture from getting into the foam as well as prevent grubby handprints all over the nice clean seat cover. That’s why you can often find plastic remnants under the seat when you first take it off. Often they are left on the bike till the time of display or sale, then simply ripped off around the seat.
SHOCKING
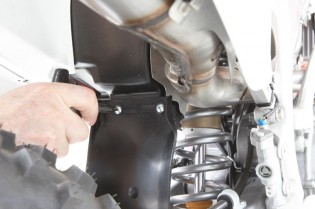
Here’s one you may not realise: even the shock protector has to be fitted on assembly. Two self-tapping screws, just the right length, are used to mount it to the back of the airbox to protect the shock from rocks. So next time you wonder why you can’t have your brand-new bike right now, think about the work that goes into it after it’s left the factory and arrived at your local dealer. Some are less work, some are more, so be patient.

