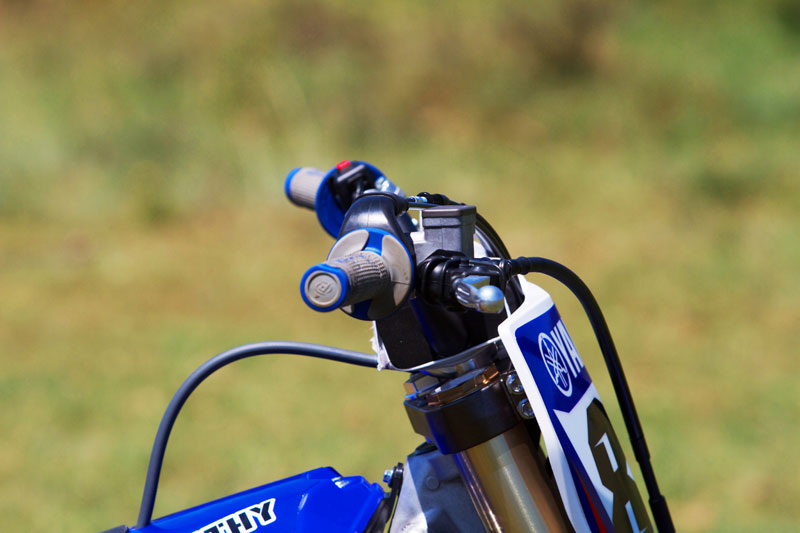
Getting all of your controls set up correctly can make a big difference to how well you use them.
STORY SHANE BOOTH | PHOTOGRAPHY MATT BERNARD
The first thing to remember here is that how you set up your bike’s controls is a personal choice. I don’t think I’ve ever seen two good riders with exactly the same setup.
I do believe there’s a range that works best and everyone finds their personal preference somewhere within that. Every now and then a rider will have a very strange or extreme setup — Ricky Carmichael is famous for his — but generally that won’t work very well for the majority.
In RC’s case you have to remember he’s on factory race bikes and what you don’t notice is that all the other changes that have been made to the bike might make the odd handlebar position work for him.
Keep an open mind when it comes to this stuff. Try to look at it objectively and work out how it will help your technique. Lastly, don’t be afraid to try a new setup. If it works, great; if you don’t like it, it’s as simple as changing it back.
HANDLEBAR POSITION
Once you have a handlebar bend you’re happy with, you then need to position them in the clamps.
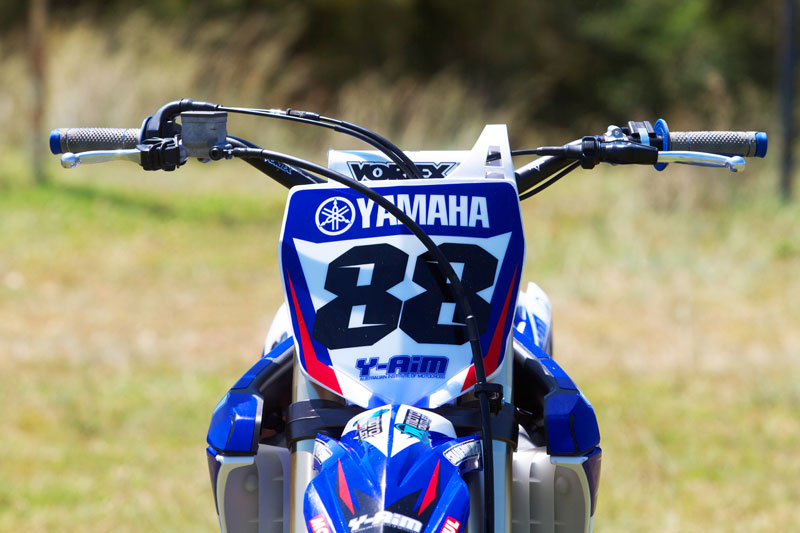
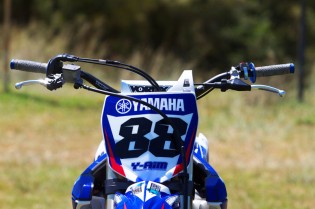
A great guide for a neutral handlebar position is that when your bike is on a flat surface your grips should be pretty much level. As you rotate the handlebars forward or back, you’ll notice the angle of your grips will change: too far forward and they’ll start to point up; too far back and they’ll slope down.
The problem here is if they arrive at too much of an angle, your wrists will also be dealing with the same awkward angle when you hold onto the handlebars. This can make it easier to jar your wrist and put you in a position where you may not be at your strongest.
There’s a fair range of movement available before your handlebars end up in a position that isn’t ideal, so you should be able to find a comfortable position there somewhere. If you can’t, maybe you need to look at a different bend.
LEVER SETUP
Once your handlebars are set, the next thing is to get your brake and clutch levers into a comfortable and convenient position.
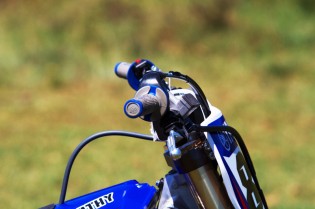
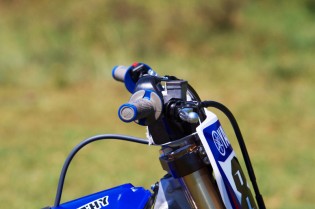
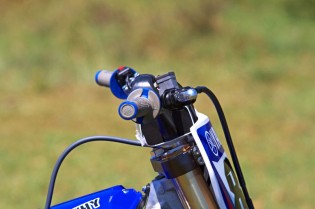
When you mount the perches on the handlebar, try to position them as far as possible along the bar, keeping in mind that the further in you mount them, the further away the lever will be to reach with your fingers.
The key is to find a balance where you can reach the lever comfortably but at the same time you’re touching the lever as close to the end as possible. This gives you the best leverage, making the lever pull seem lighter and giving you a better feel.
Once that’s done, you need to set the rotation of the lever. This is all about coming up with a compromise and a position that allows you to reach the levers in all the different positions you adopt on the bike. If they’re too high, when you stand you’ll have a horrible kink in your wrist, which may contribute to injury on a big impact; if they’re too low, when you lean back on the bike you’ll struggle to reach them.
As a rule, a slight downward angle works best. Positions will vary maybe 10–15mm but somewhere within that range. It’s also not uncommon to see the two levers in different positions, so don’t think they have to be the same.
FOOT CONTROLS
You are fairly limited in what you can do with your rear brake and gear shift lever but you can still get them in a position that complements what you’re trying to do on the bike. Generally, rear brake one or two millimetres lower than footpeg works well and the gear shifter as level as you can get with the footpeg.
If you’re really struggling to find something that works for you, some aftermarket shifters and brake pedals may offer additional scope for adjustment.

